


How to Measure Your Ring Size
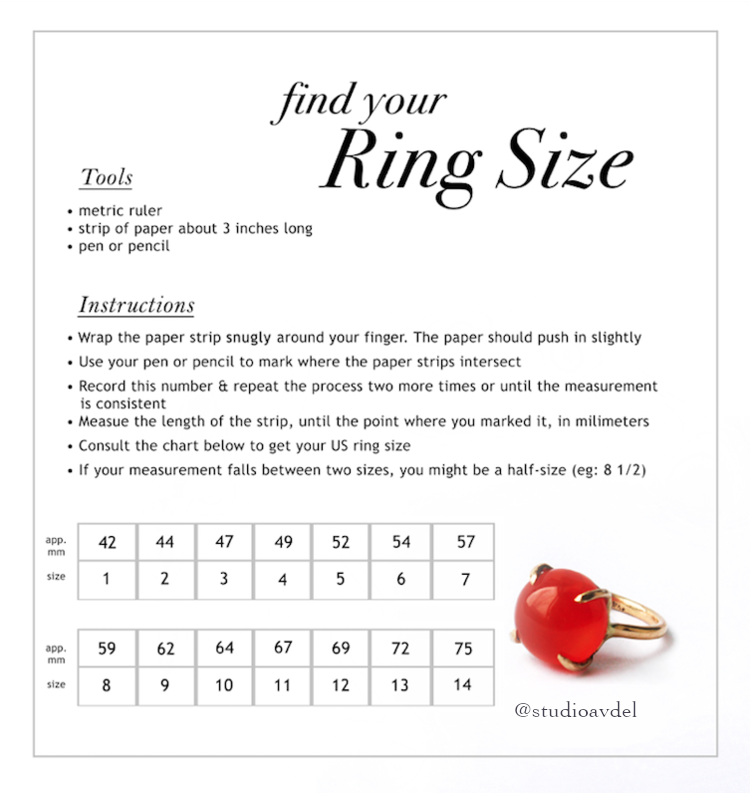
It is remarkably simple to find out your ring size. You can either use a reusable ring sizer such as the one linked here, or you can use the simple DIY solution described below. All you need is a piece of paper, a writing tool, and a metric ruler. This chart sums up the process, and should you need them, I am including more detailed instructions below.

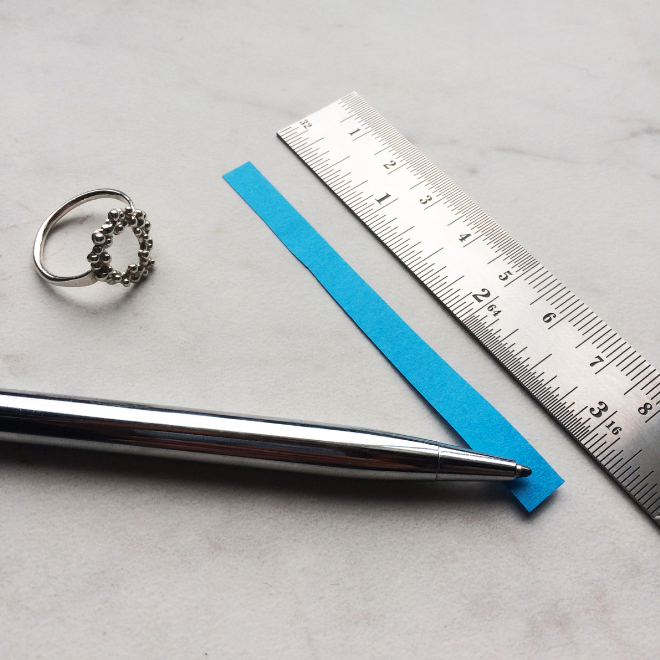
Step one: cut a piece of paper at about 3 inches (8cm) long. You can use any kind of paper, but I prefer to use sticky notes, with the little sticky part being on one of the ends (it’s not at all necessary, but does come in handy later).
Step two: wrap the strip of paper around the finger you’re looking to measure, allowing the strip to overlap slightly. Make sure the paper strip is snug on your finger, pushing in a tiny bit. If you’re using a paper strip that has one sticky end, I find it helpful to place the sticky part on your finger before starting the wraparound, as it allows you to pull on the paper more easily.
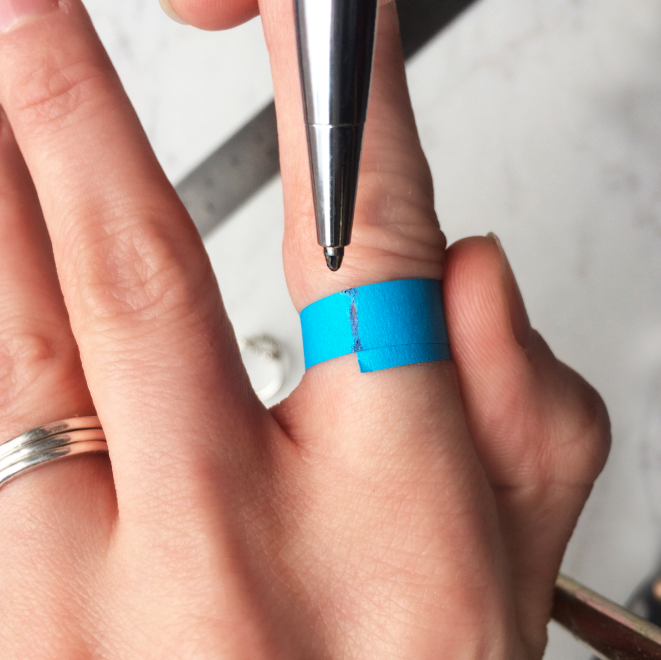
Step three: mark the spot where the paper intersects and measure it in millimeters using the metric ruler.

Step four: perform steps one through three a couple of more times until you’re getting a consistent measurement then consult the chart above to find out your ring size! If you’re in between two measurements, your finger might be a half size. For example, if your finger measures 56mm, you are probably about size 6.5.
If you feel uncomfortable following these steps or DIY is just not your style, you can always use the ring-sizing tool available in the shop to help you find out your ring size.
Hope this helps!
